
Installation and Setup
Learn how to install the AllFeedback WordPress plugin and complete the initial setup wizard to start collecting visitor feedback through customizable surveys.
Last updated on Jun 22, 2026
Installation and Setup
AllFeedback is a WordPress plugin that helps you collect feedback from your website visitors through customizable surveys and forms. You can create surveys using pre-built templates, embed them anywhere on your site, and track responses with built-in analytics. This guide walks you through installing AllFeedback and completing the initial setup to start collecting feedback in just a few minutes.
Prerequisites
Before you begin:
WordPress 6.5 or higher
PHP 8.2 or higher
Administrator access to your site
Step 1: Install the Plugin
From the WordPress plugin directory:
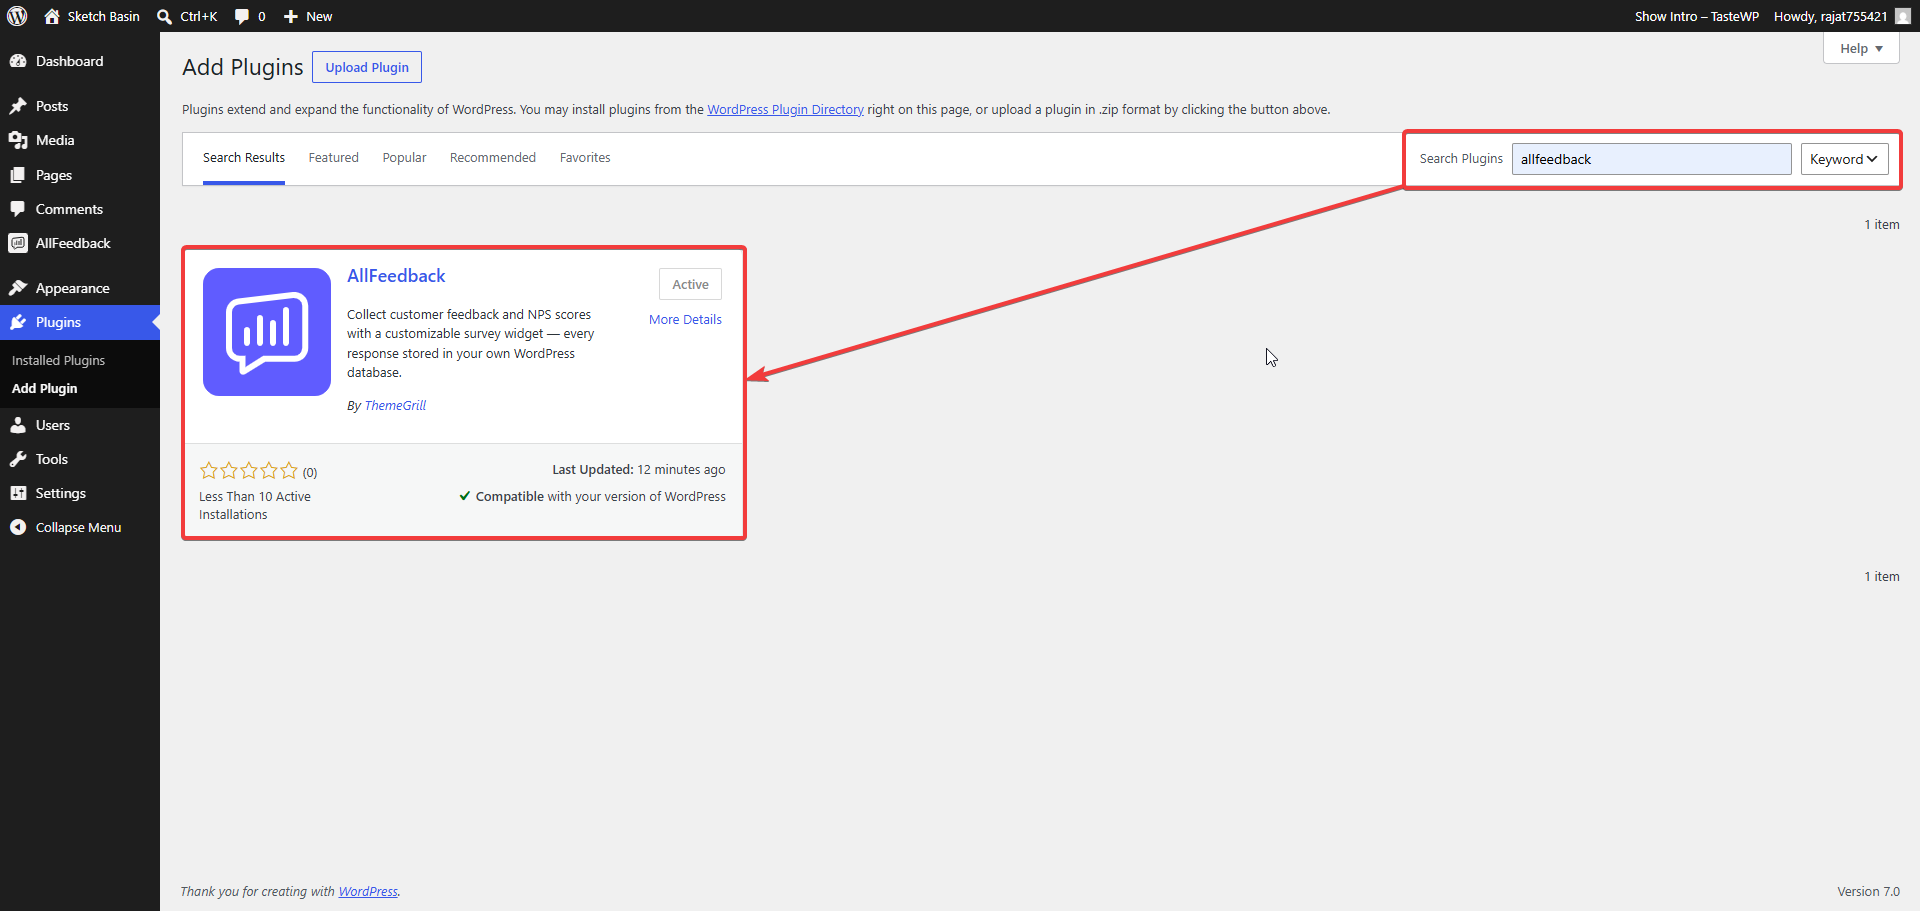
In your WordPress admin, go to Plugins → Add New
Search for AllFeedback
Click Install Now, then Activate
Or upload the ZIP:
Go to Plugins → Add New → Upload Plugin
Choose the allfeedback.zip file, then click Install Now
Click Activate
On activation, AllFeedback automatically creates the database tables it needs in the background.
Step 2: Complete the Setup Wizard
After activation, you'll be redirected to the Setup Wizard. If not, open AllFeedback in your admin sidebar.
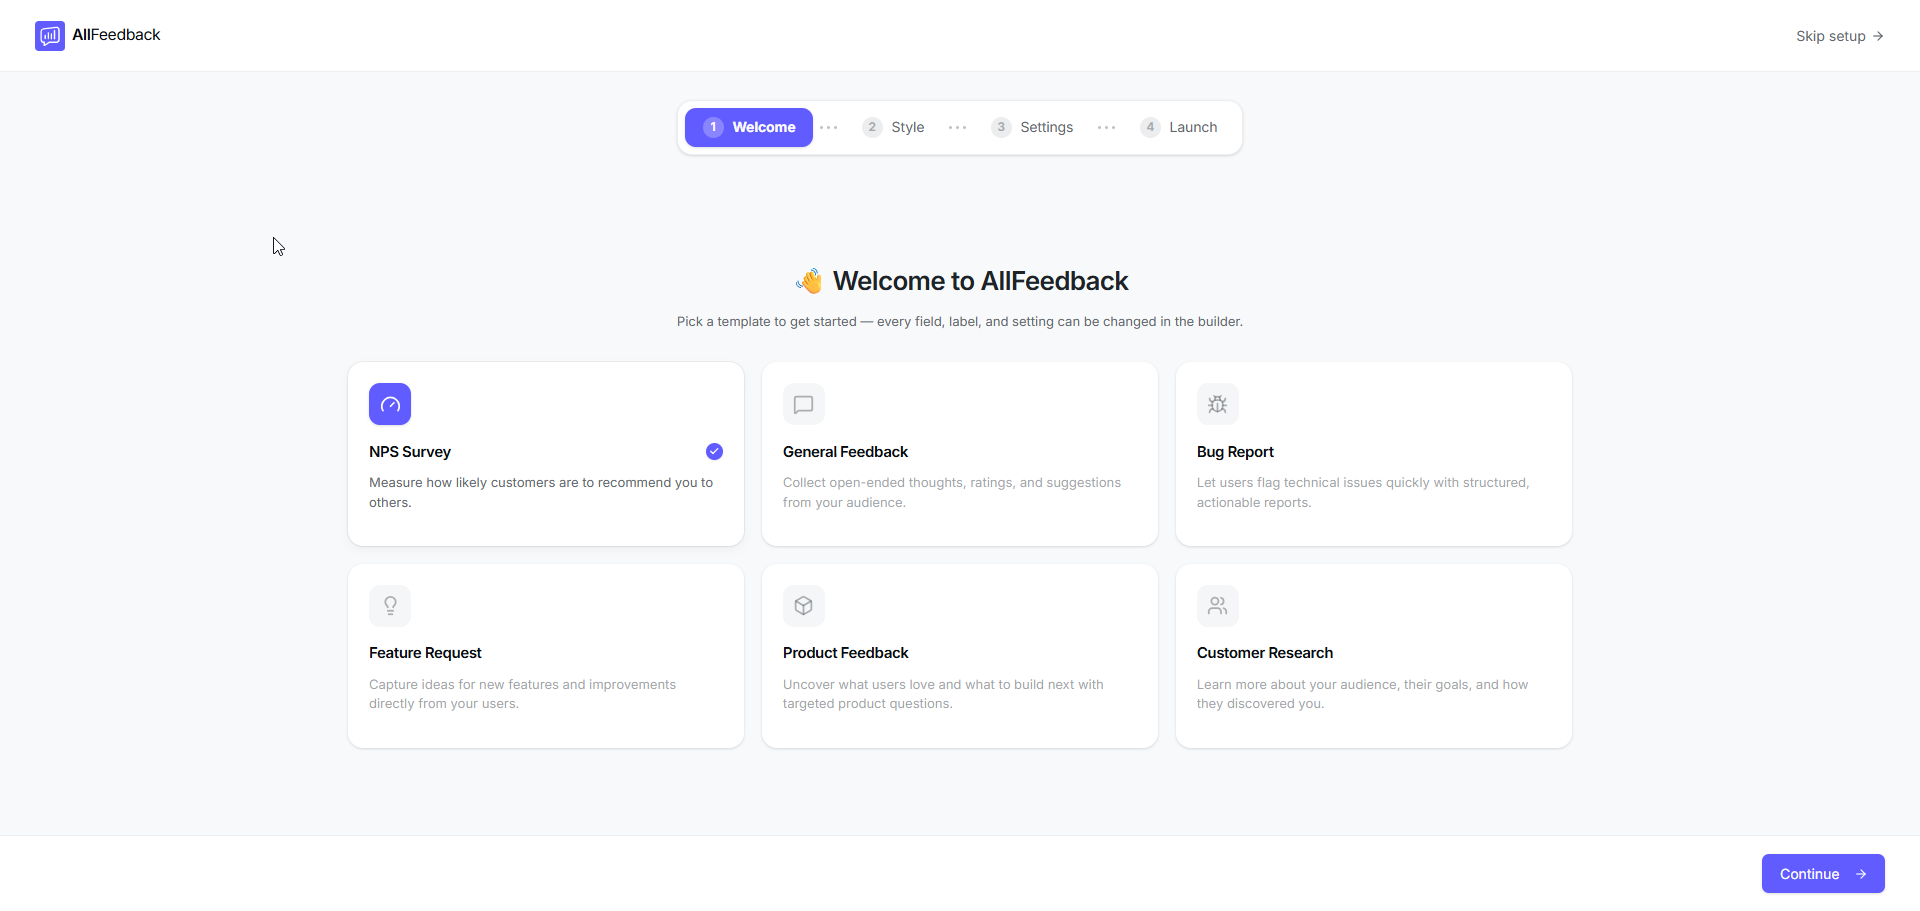
The wizard guides you through four steps:
Choosing a survey template
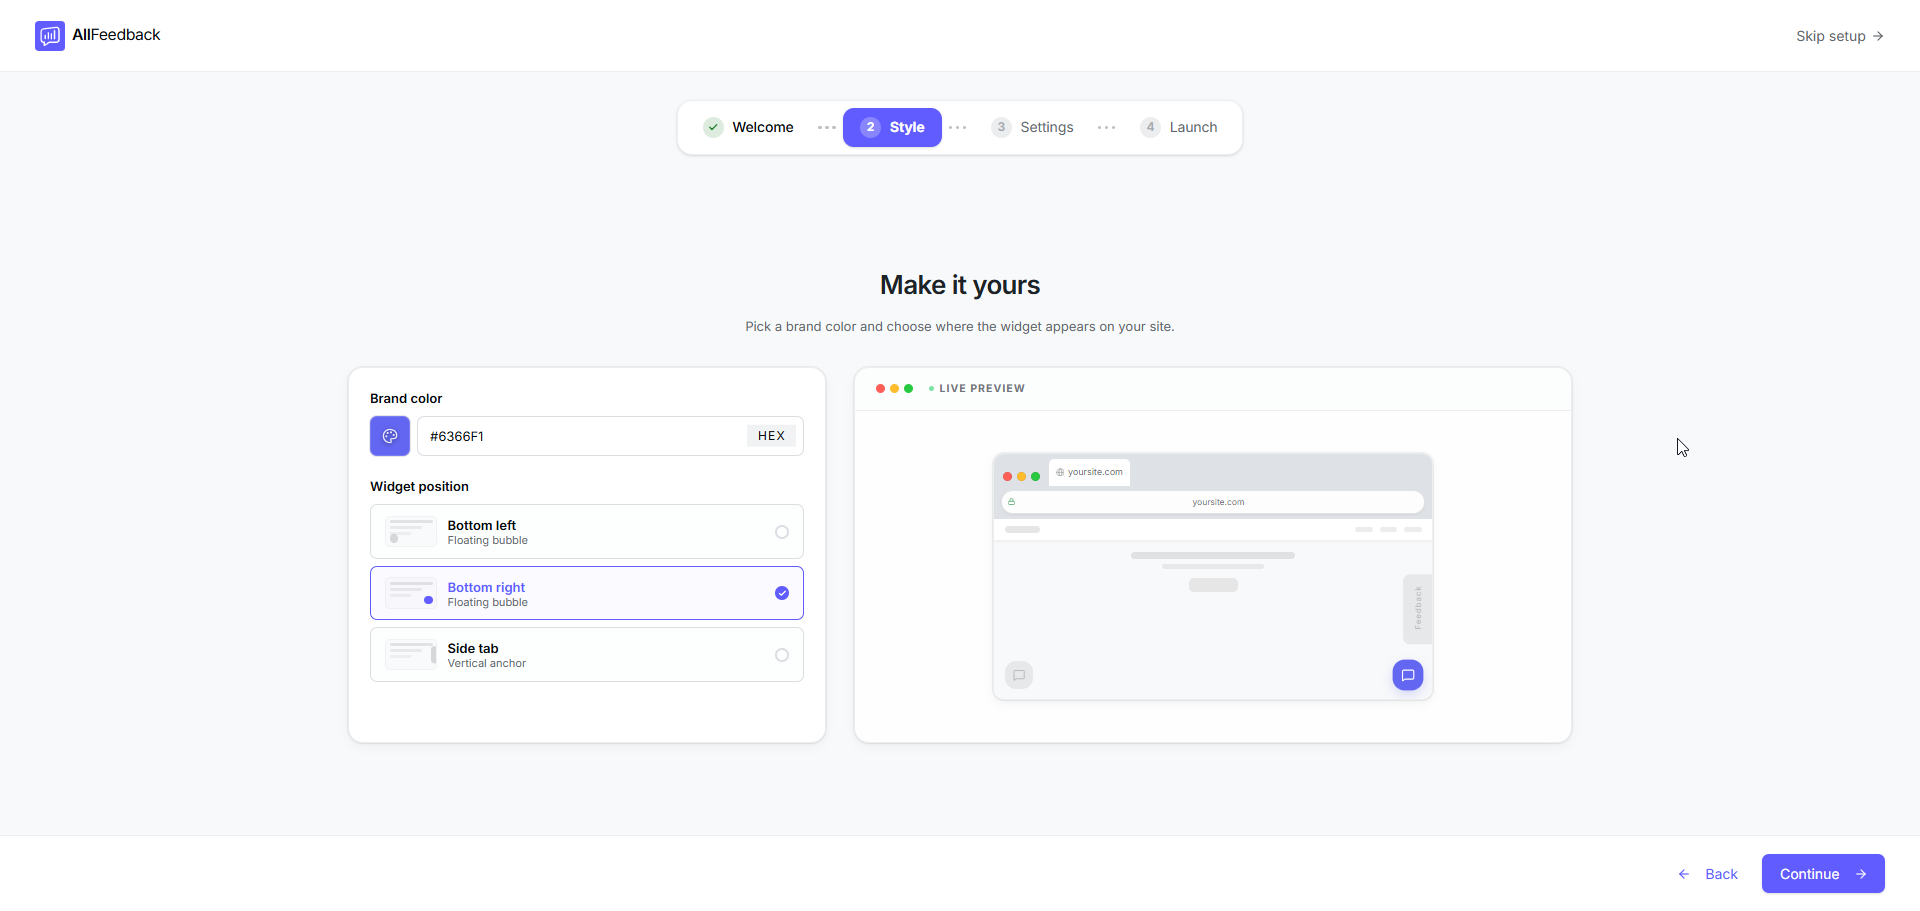
Setting your brand color and widget position
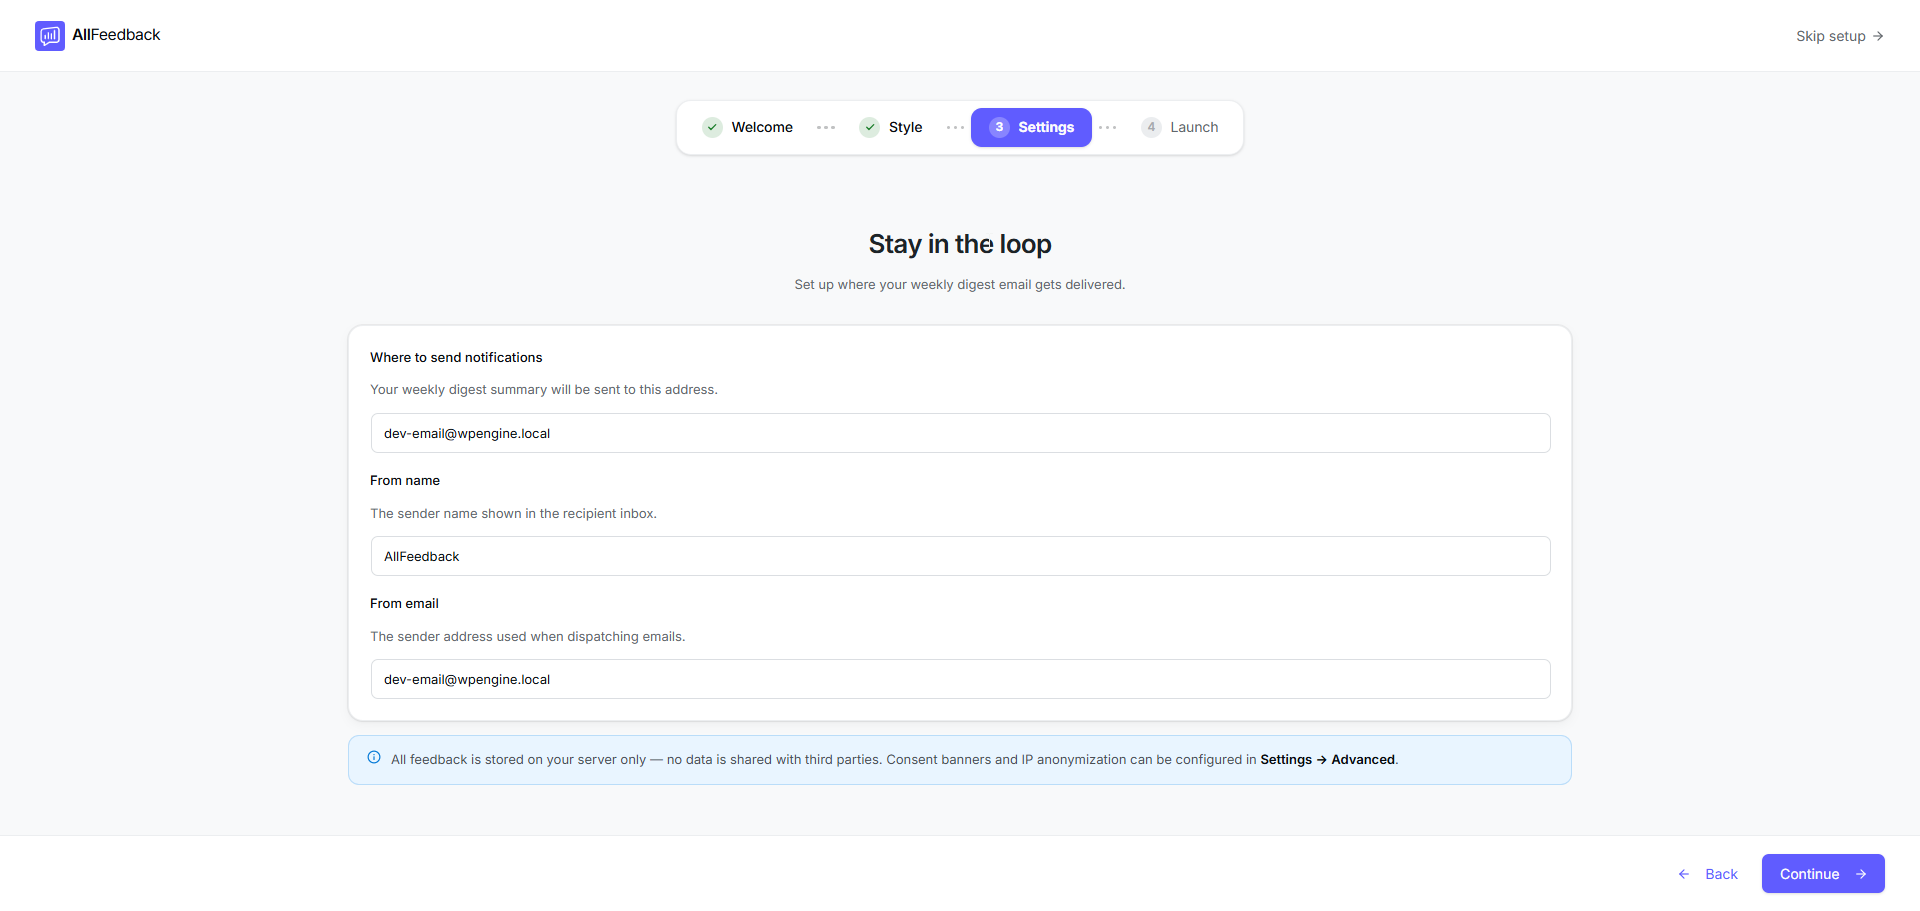
Configuring email notifications
Finishing up the wizard
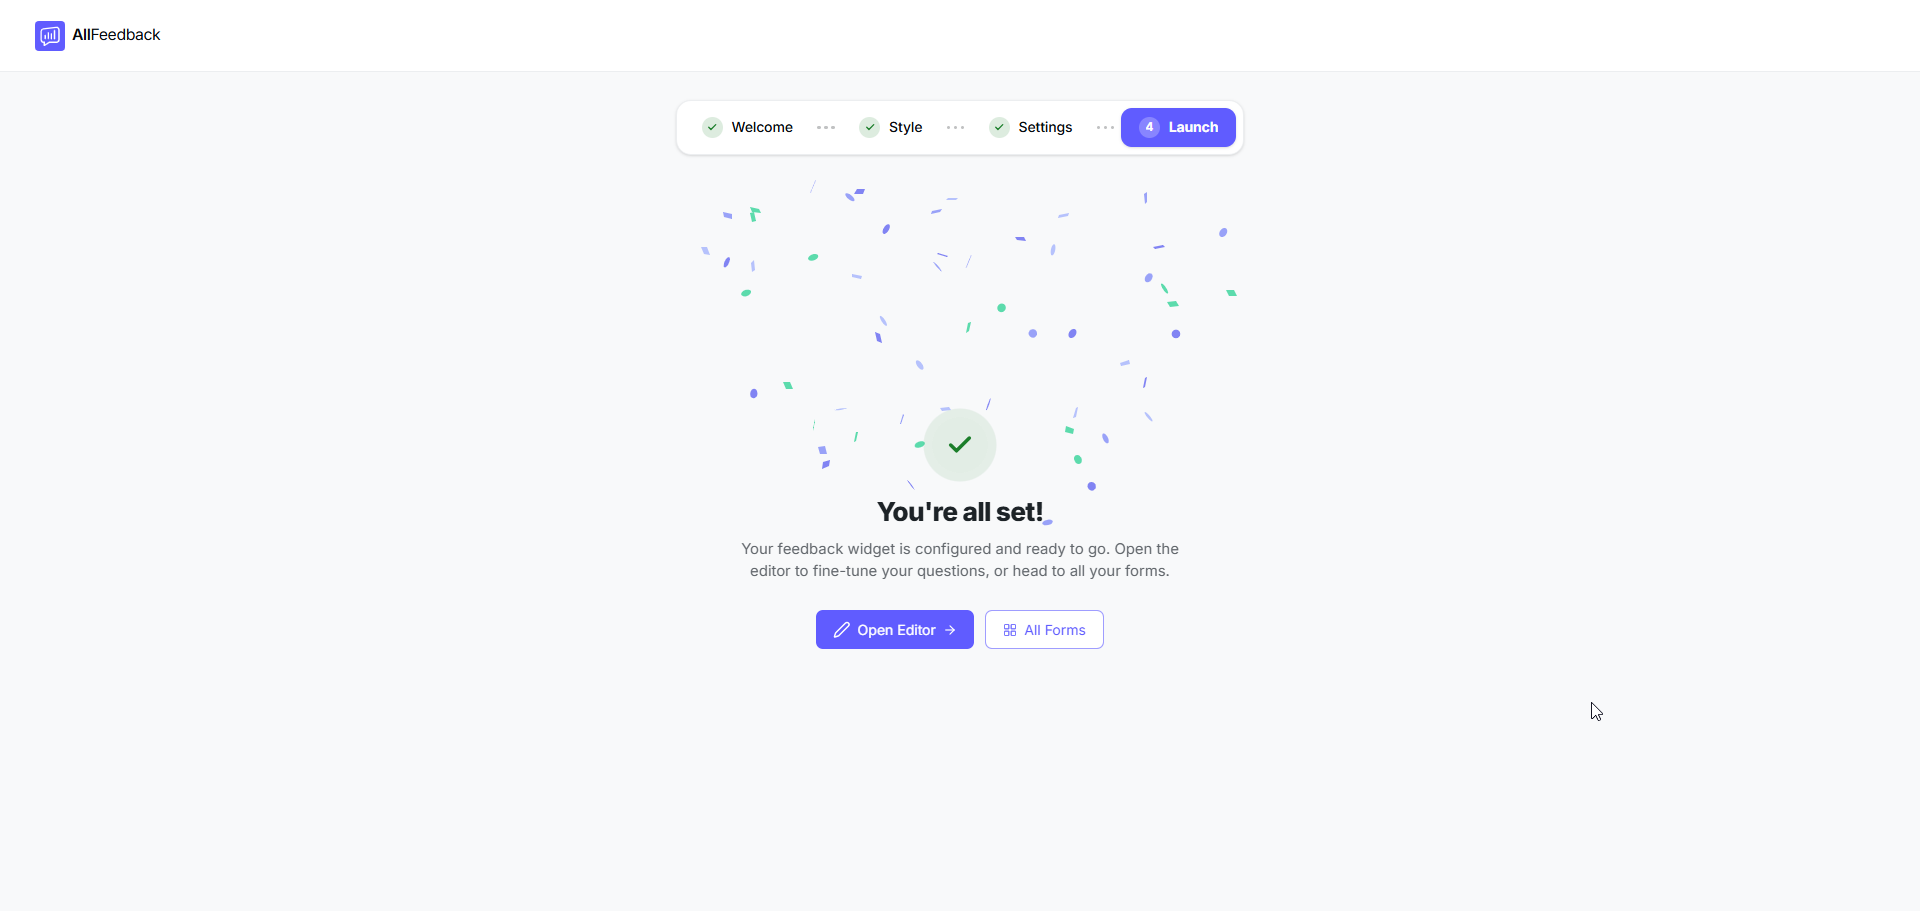
On the final step, click Open Editor to edit the newly created feedback form, or All Forms to view the list of all your feedback forms.
Troubleshooting
Plugin Does Not Activate
If the plugin fails to activate, check that your site meets the minimum requirements in the Prerequisites section — the plugin requires PHP 8.2 or higher and WordPress 6.5 or higher.
Setup Wizard Does Not Appear
If you aren't redirected to the Setup Wizard after activation, open AllFeedback in your WordPress admin sidebar. The wizard appears as long as it hasn't been completed yet.
Email Notifications Not Received
If you don't receive emails after setup, verify that your WordPress site can send mail. Go to AllFeedback → Settings → Email → Delivery, enter a To email, and click Send test. If the test doesn't arrive, your server's email may not be configured correctly — see the Notifications & Email guide for deliverability tips (including SmartSMTP), or contact your hosting provider.