
General settings
Configure widget appearance and placement settings, including color customization and positioning options for your AllFeedback feedback widget.
Last updated on Jun 22, 2026
General settings
The General settings screen controls how the AllFeedback widget appears to visitors across your entire website. You can set the widget's color to match your brand and choose where it appears on the page.
Accessing General Settings
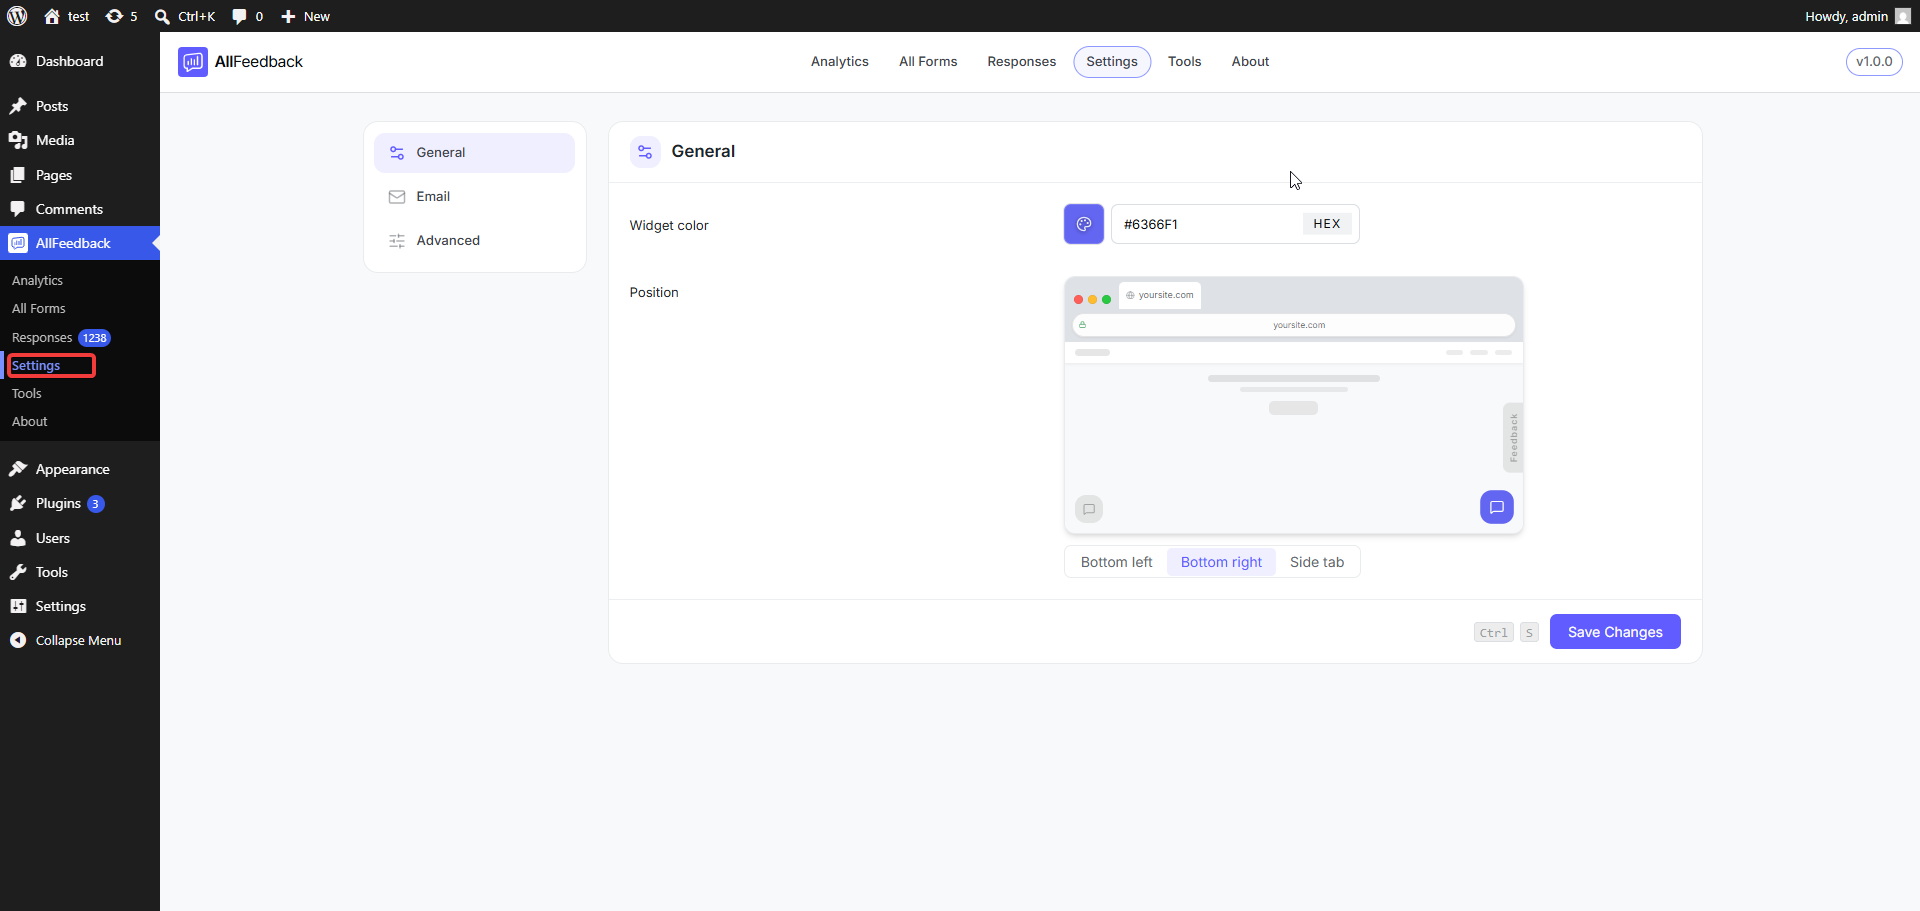
Go to wp-admin → AllFeedback → Settings
Click the General tab
The General settings open with your current widget configuration.
Widget Color
The widget color sets the background color of your feedback widget button, so it can match your site's design or stand out to encourage feedback.
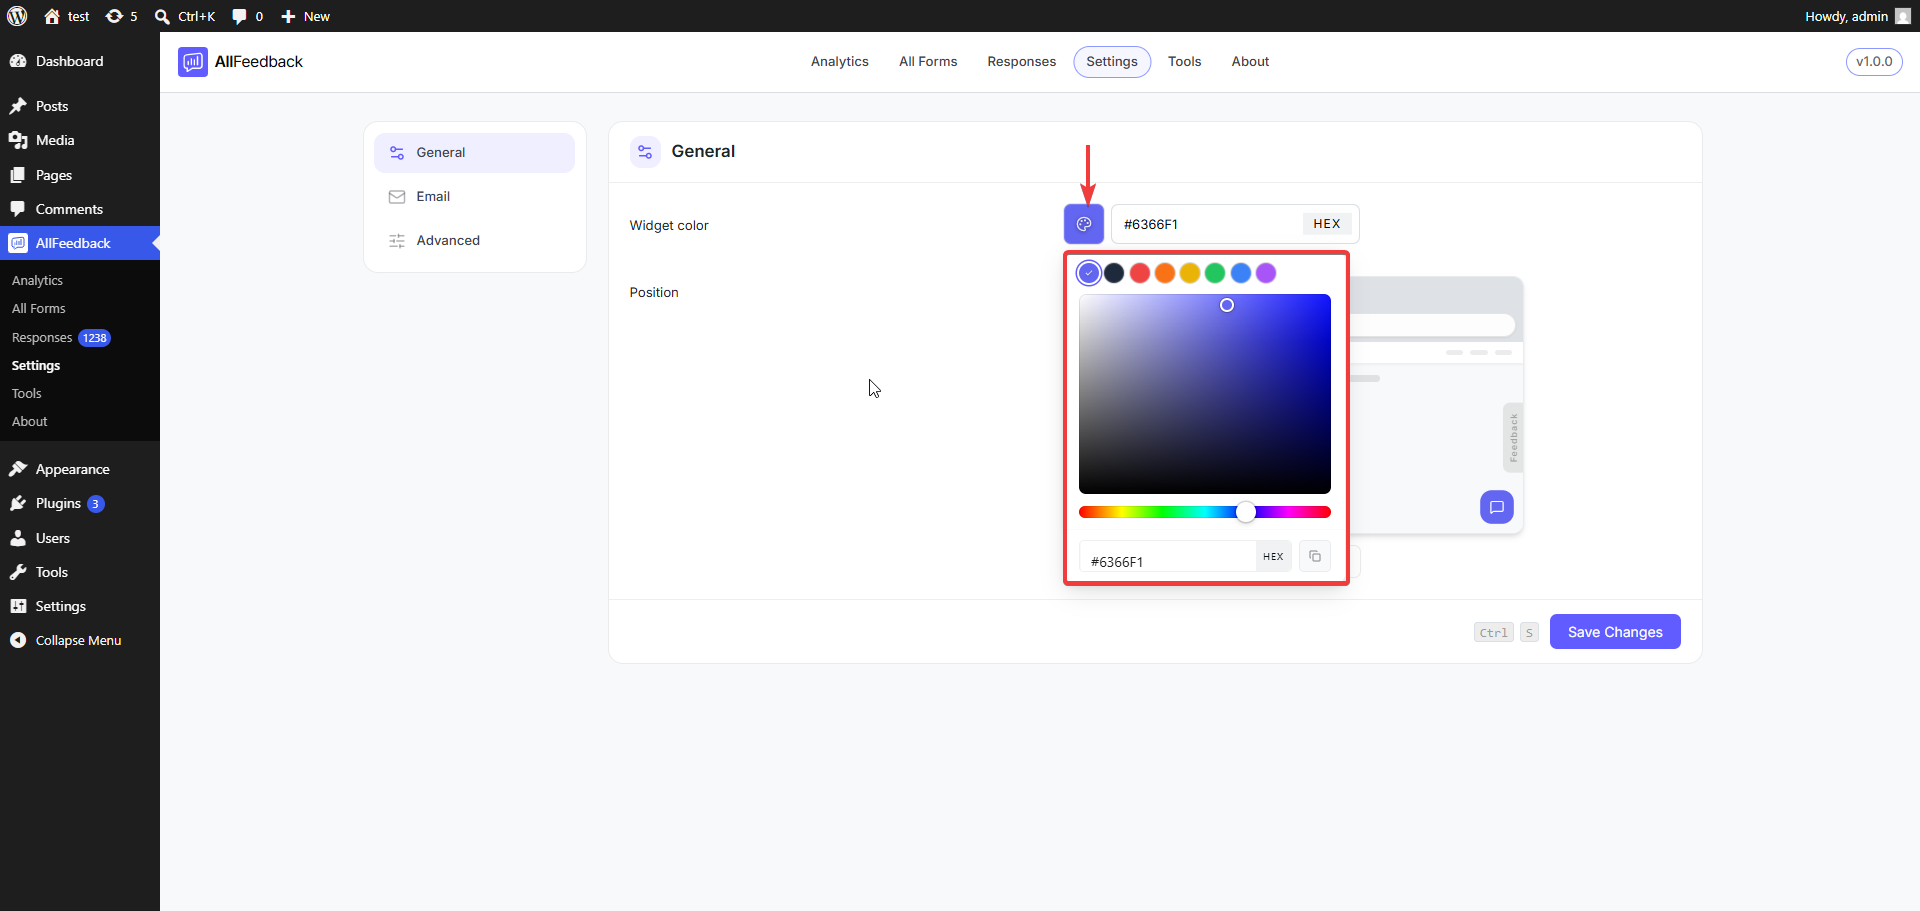
To change it, use the color control next to the Widget color label:
Click the color swatch to open the picker — drag in the saturation area, use the hue slider, or click one of the preset swatches (Brand, Dark, Red, Orange, Yellow, Green, Blue, Purple).
Or type a value into the field beside the swatch. It accepts HEX by default (for example, #8F4EEE); click the format button to switch to RGB or HSL.
The default widget color is #6366F1. When you're done, click Save Changes.
Widget Position
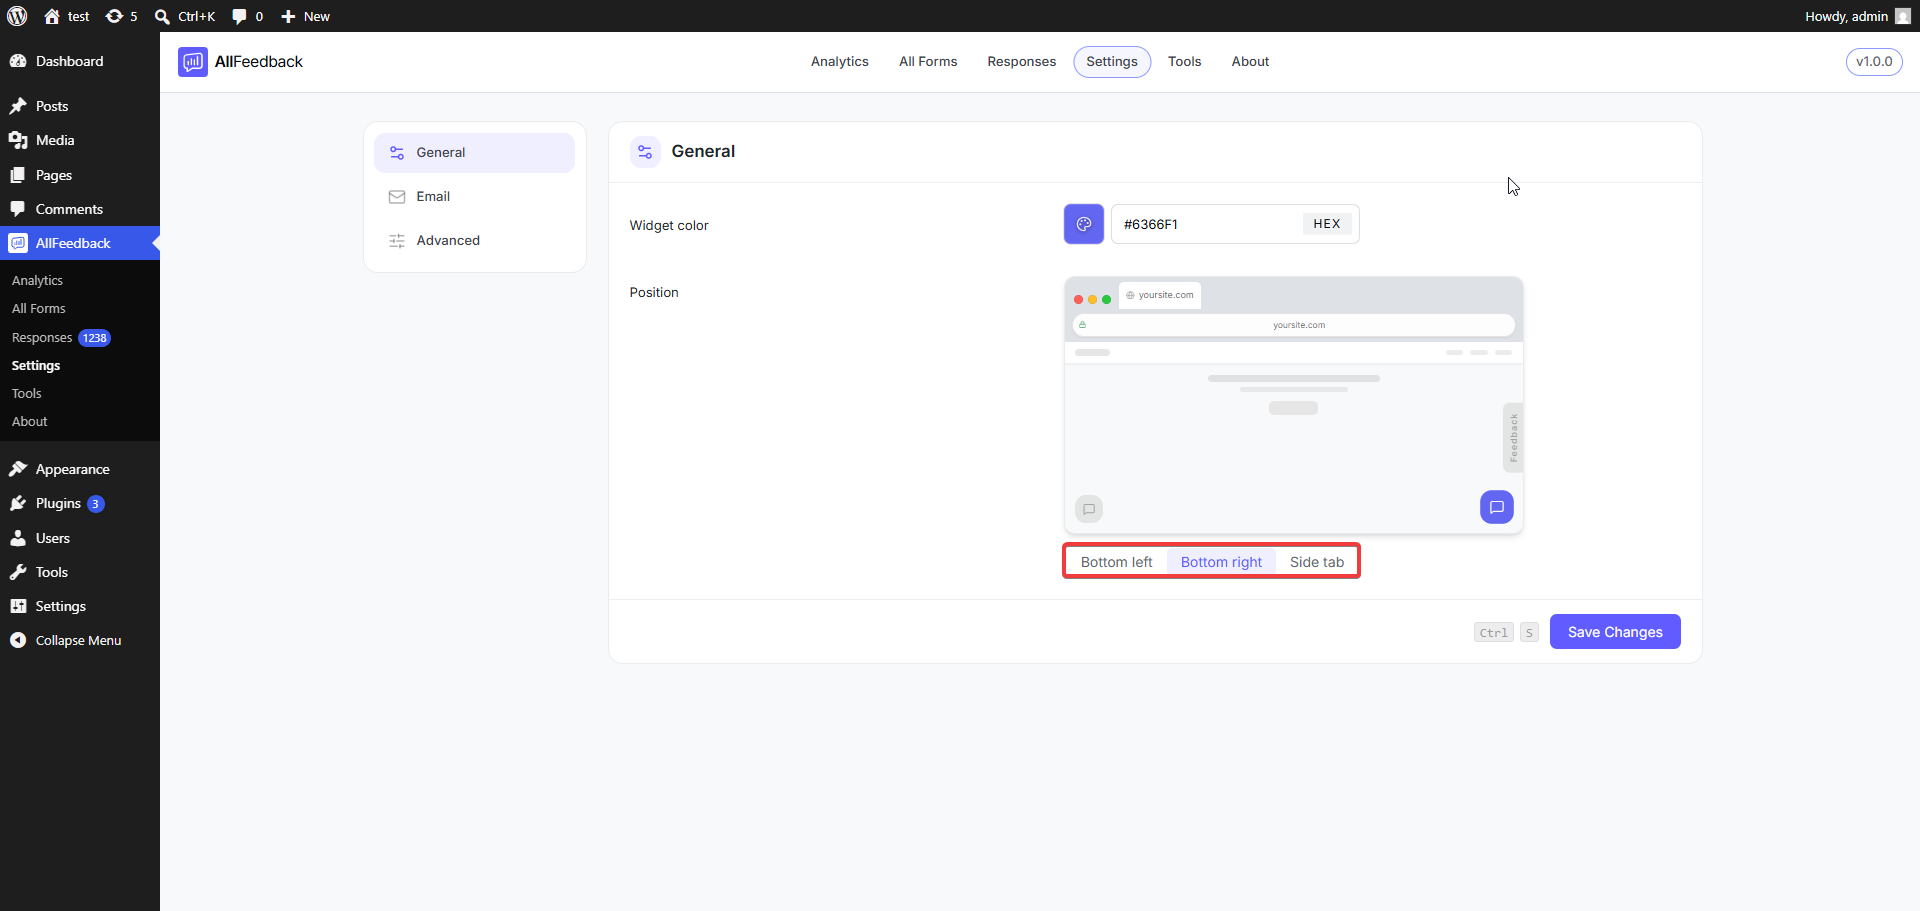
The position setting determines where the feedback widget button appears on your pages. There are three options:
Bottom left — the lower-left corner of the page
Bottom right — the lower-right corner of the page
Side tab — a vertical tab pinned to the side of the page
To change it, click one of the three position buttons — or click the position directly in the preview. Then click Save Changes. The default position is Bottom right.
Live Position Preview
The position control includes a browser mockup that shows exactly how your widget will appear to visitors. It updates in real time: clicking a different position (in the buttons or the mockup) immediately moves the widget to its new location, so you can see the result before saving.
Saving Your Changes
When you've set your widget color and position:
Click the Save Changes button in the footer of the Settings page
A confirmation appears: "Settings saved successfully."
You can also press Ctrl+S (or ⌘+S on Mac) — the shortcut is shown next to the Save button. Note that this button saves changes across all Settings tabs (General, Email, Advanced) at once.